
This content has been archived. It may no longer be relevant
Do you know how to set up or Create New Gmail Account? Gmail account is a google account that allows us to access various Google Applications. Like Google Docs, Contact, Sheets, Calendar, Drive. With a Gmail account, you can easily store your emails, photos, contacts to Google Cloud. Nowadays having a Gmail Account is very important for your education, work, or any other purpose. In this post, we are going to learn how to create a new Gmail Account, Recovery Options, and Mail settings. Let’s take a look at the steps you needed to perform.
To Create New Gmail Account:
1. Go to Google Account Sign In page- www.gmail.com

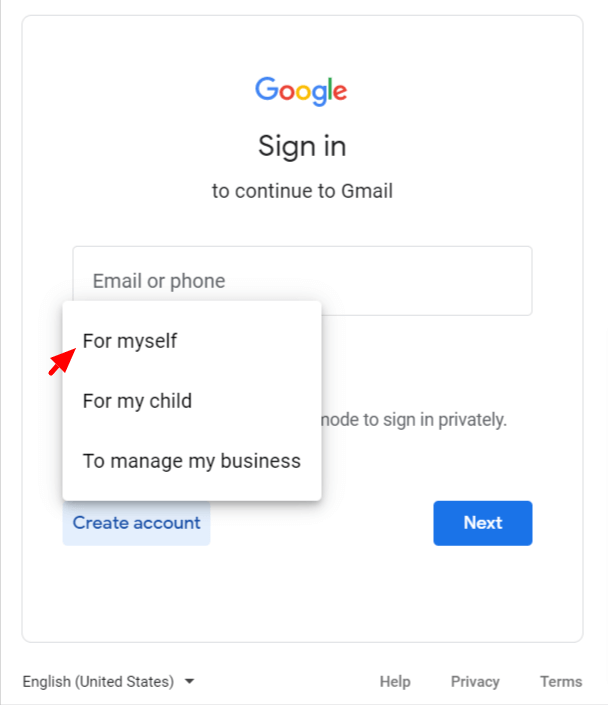
2. Click Create Account. Select from For myself.
3. Fill in the required information like your Name, Username (Google suggests Username for you or you can manually select a username), and Password.

4. Next, you have to fill in your personal information like Gender and Birth Date. Click Next.

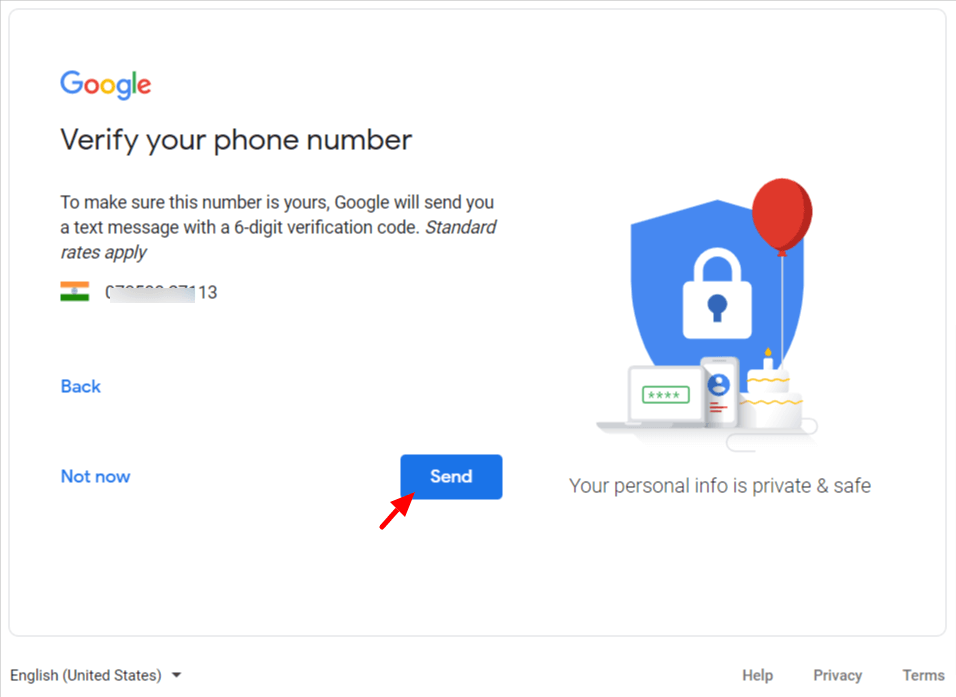
5. Then enter your Mobile number for verification purpose. Select Send.
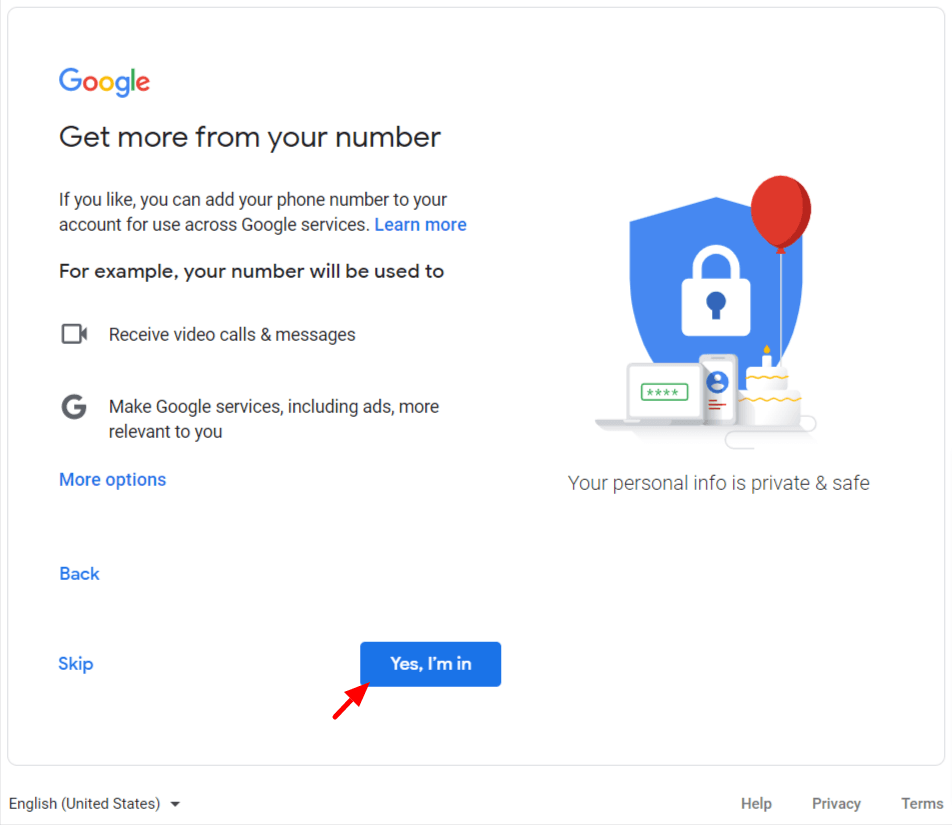
6. Next enter the 6-digit verification code Google sent you on your number and complete the verification process.

7. Click next.
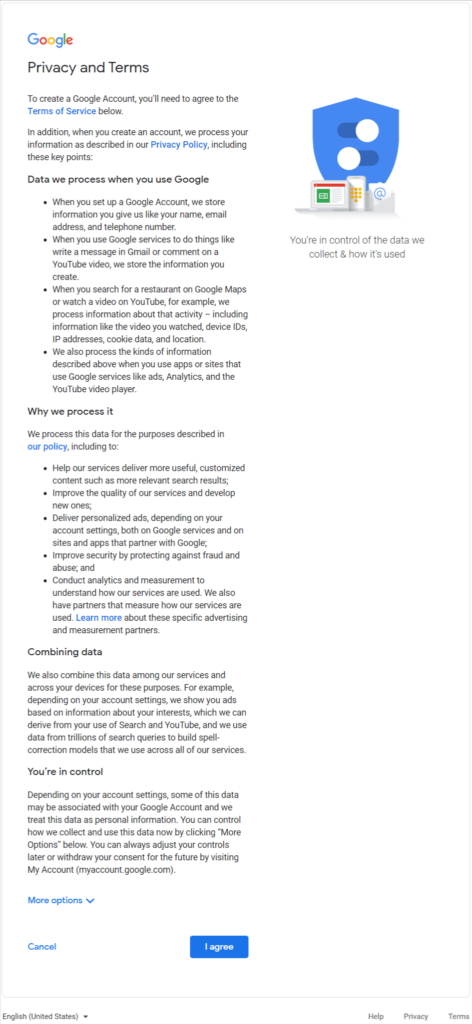
8. Read Google’s Terms and Policies. Click I agree.
9. Your Gmail Account will be successfully created.

Add Recovery Information:
Adding recovery information is very important, it provides safety to your account. If you forget your password or someone signed in to your account without your permission, you can get your account back with recovery information.
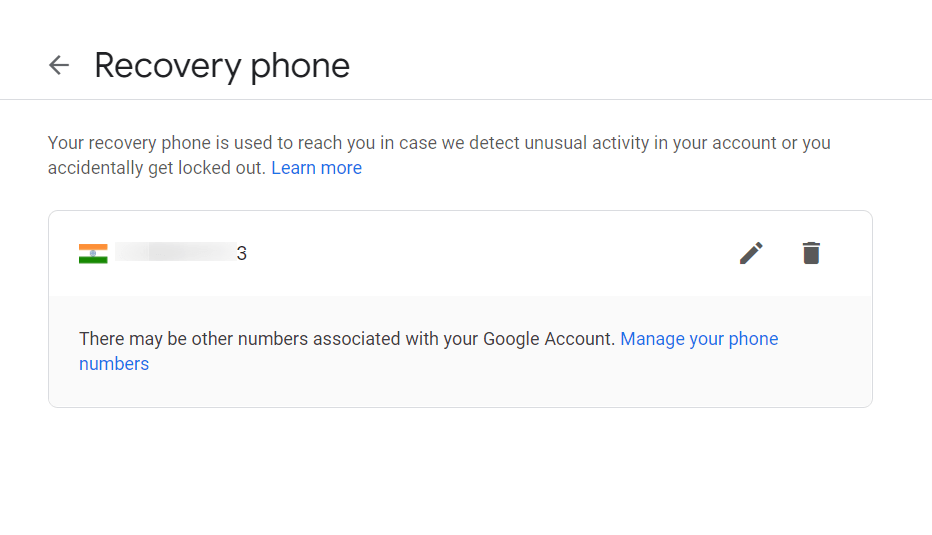
Add Recovery Phone:
1. Sign in to your existing account.

2. Click on the top-right corner, select Manage your Google Account.

3. Select Security.

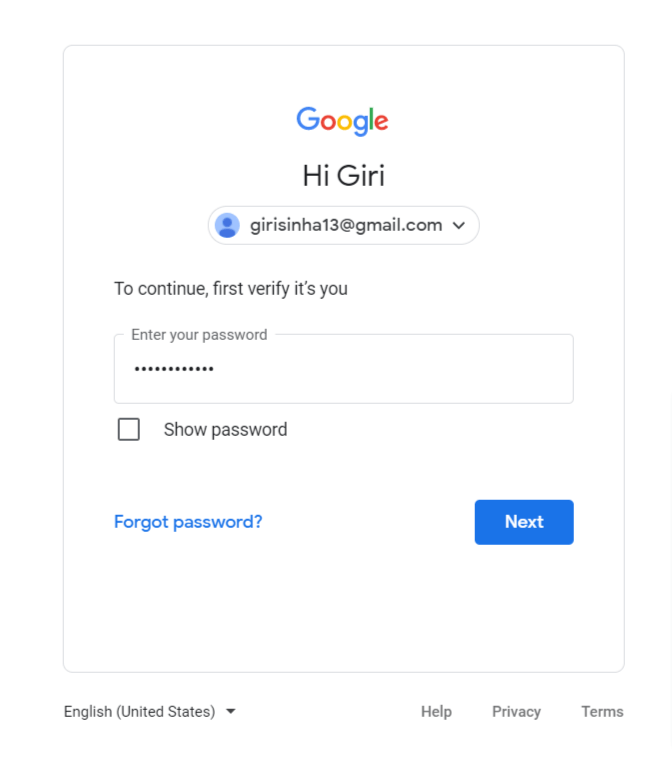
4. Click Recovery phone. Enter your password.
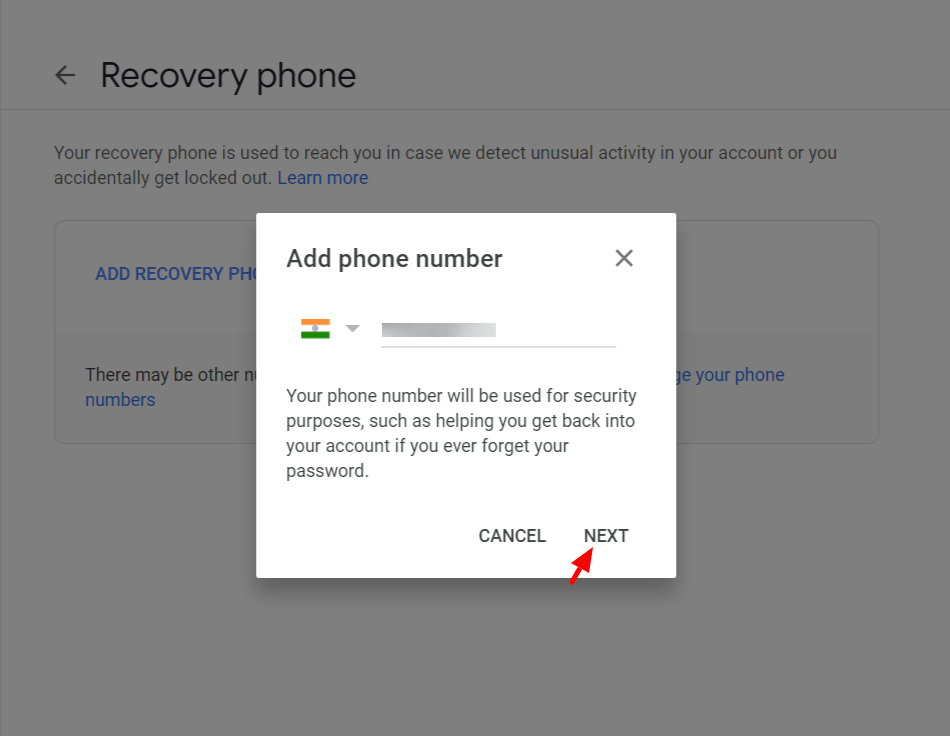
5. Enter your Recovery phone number. Click Next.
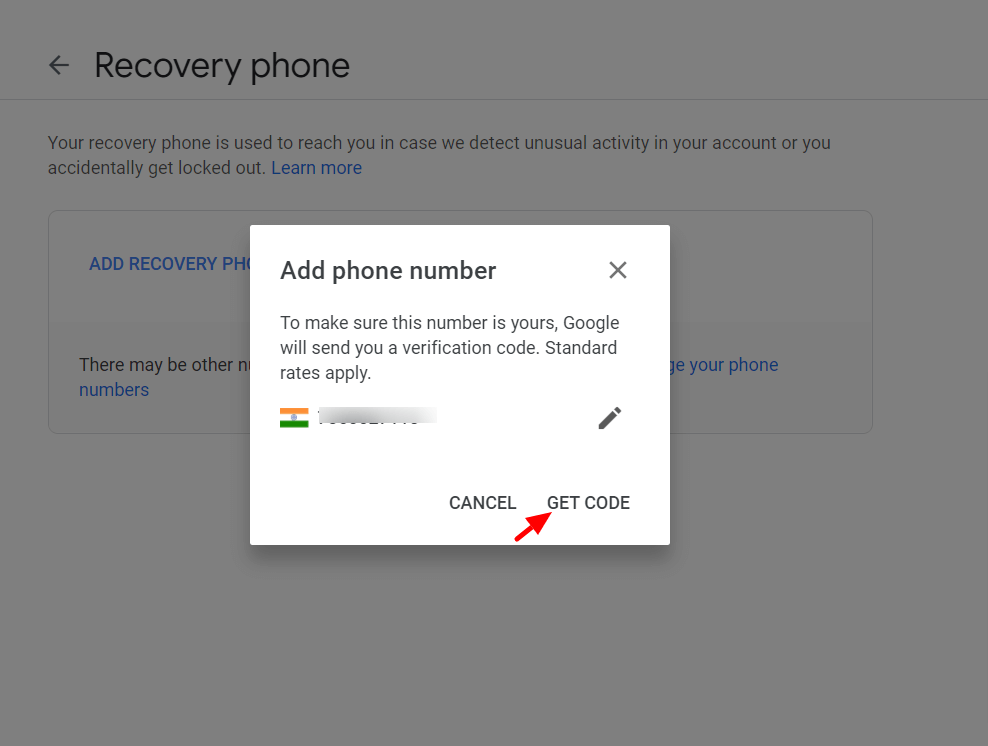
6. Select GET CODE.
7. Enter 6- digit code sent to your recovery phone. Click verify.
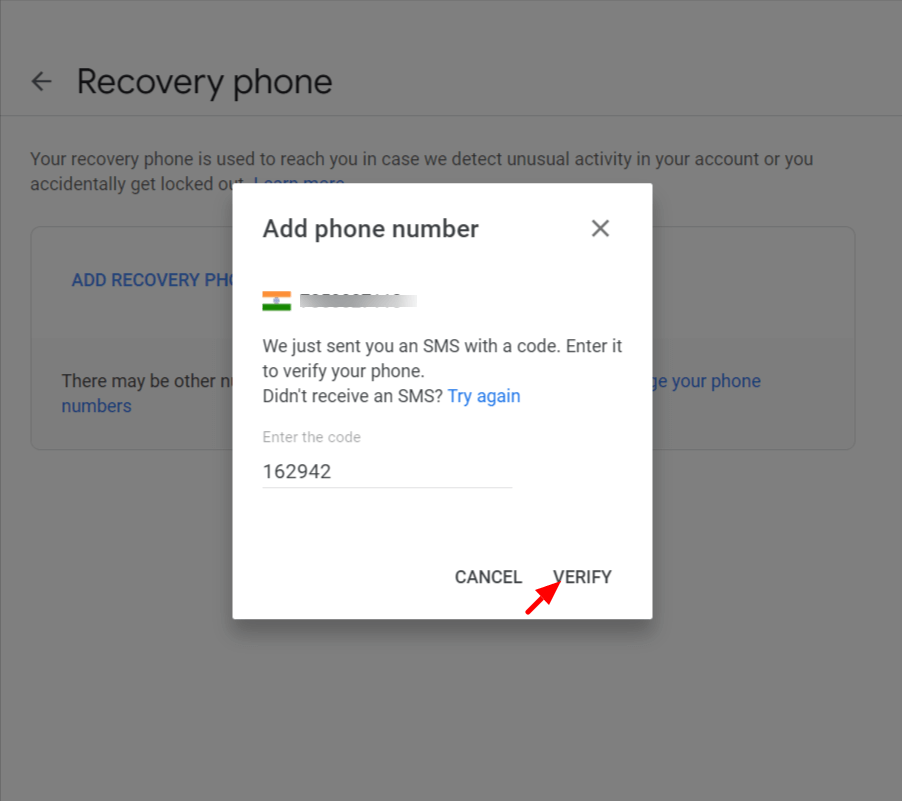
8. Your Recovery phone will be verified successfully.
Add Recovery Email:
1. Sign in to your existing account.
2. Click on the top-right corner, select Manage your Google Account.
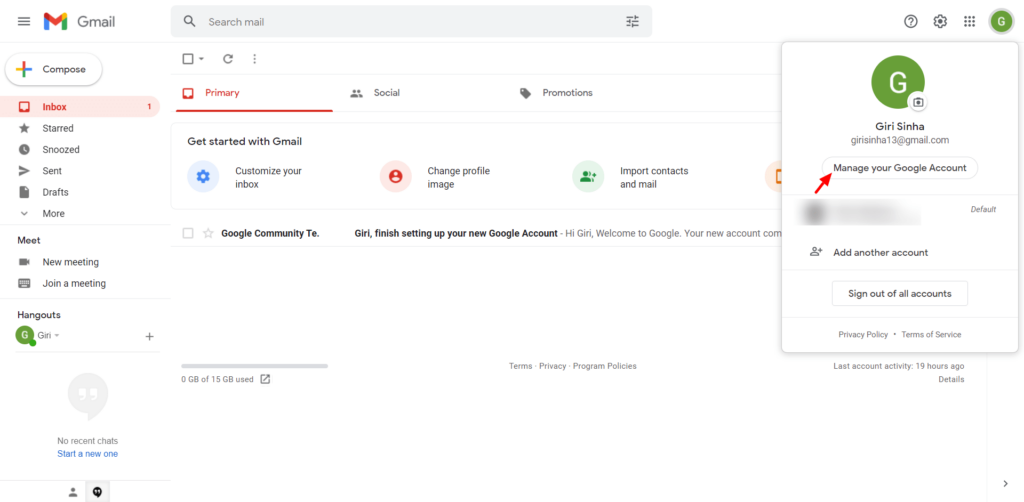
3. Select Security.

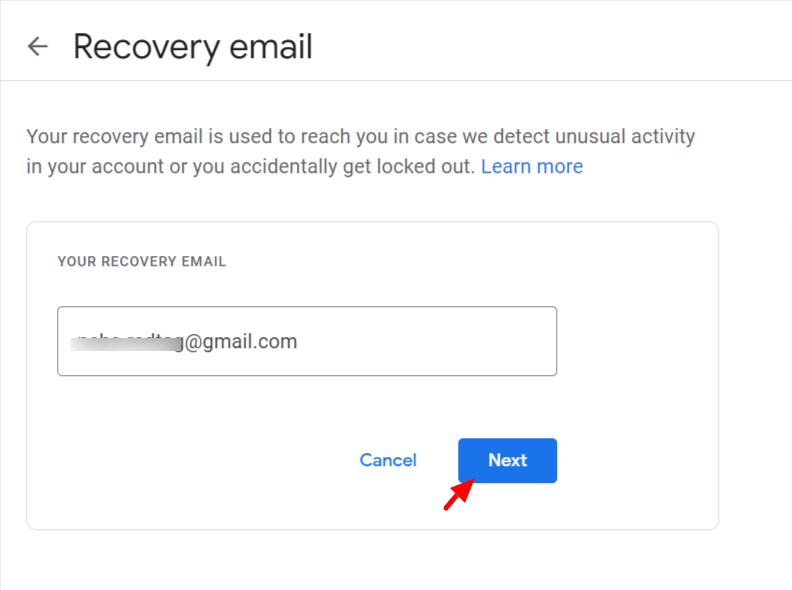
4. Click Recovery email. Enter your password.

5. Enter your Recovery Email. Click Save.
6. Enter 6- digit code sent to your recovery email. Click verify.

7. Your Recovery email will be verified successfully.

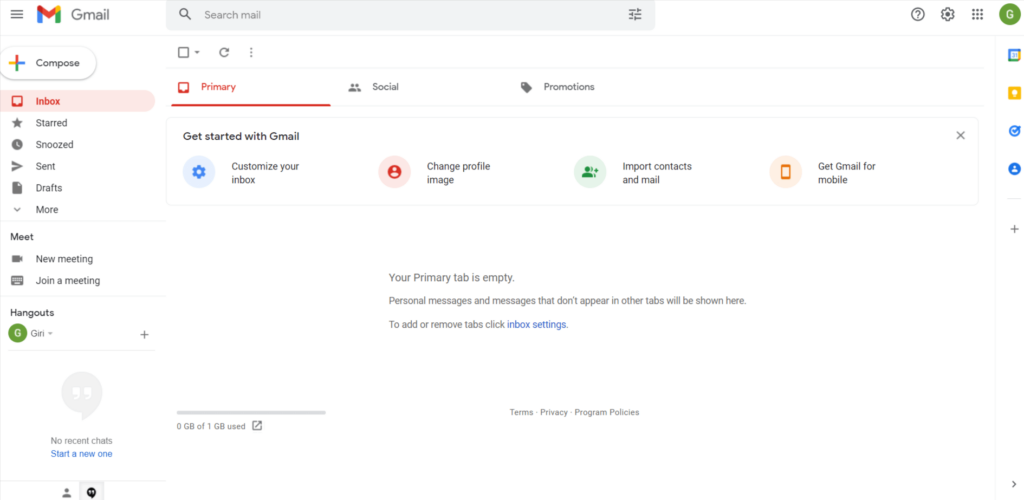
Access Your Mail Settings:
You can access your mail settings by,
- Open your mail account.
- Click on the top-right corner.
- Click on Manage your Google Account.

You can save contact information, personal info like name or date of birth, you can also check your Location and Youtube History. In the Security option, you can add or delete recovery phone, email.
Sending email:
Sending an email is also easy. You can edit your message, add attachments to your mail.
1. Click on Compose button on the top right side.

2. Add Recipient (You can add more than one recipient for your mail) and Subject of your mail.

3. Write the body of your email.

4. Click Send option.

5. You can schedule the sending time by click on Arrow side of the Send button.

Adding Attachments To The Mail:
You can attach files, images, links, files from your drive in your mail. You cannot send application files over mail (.exe files)
1. Click on Attach Files at the bottom of the window.

2. Select file and click Open.
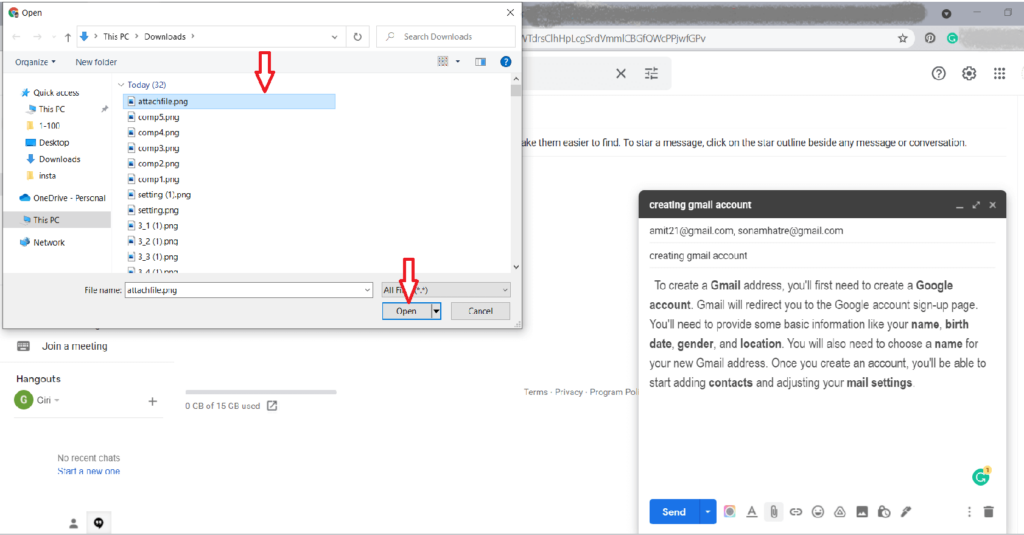
3. Your file is attached successfully.

Text Formatting Option:
There are many options to edit your text while composing mail. You can change font style, font size, text color. You can also style text by using Bold, Italic, Strikethrough options.

Sending Reply Over Mail:
note: para about sending a reply
1. Open mail that you want to reply, select Reply option.

2. Write your text in the body field.

3. Click Send.

Nice and easy step by step explanation.
Thanks.
Helpful article for beginners!
Thanks.
Thank you for sharing this information in such a simple word